Choosing the right hair salon for your child can make the experience enjoyable, safe, and stress-free for both of you. Here are some key tips to help you pick the best one.
1. Look for Kid-Friendly Salons
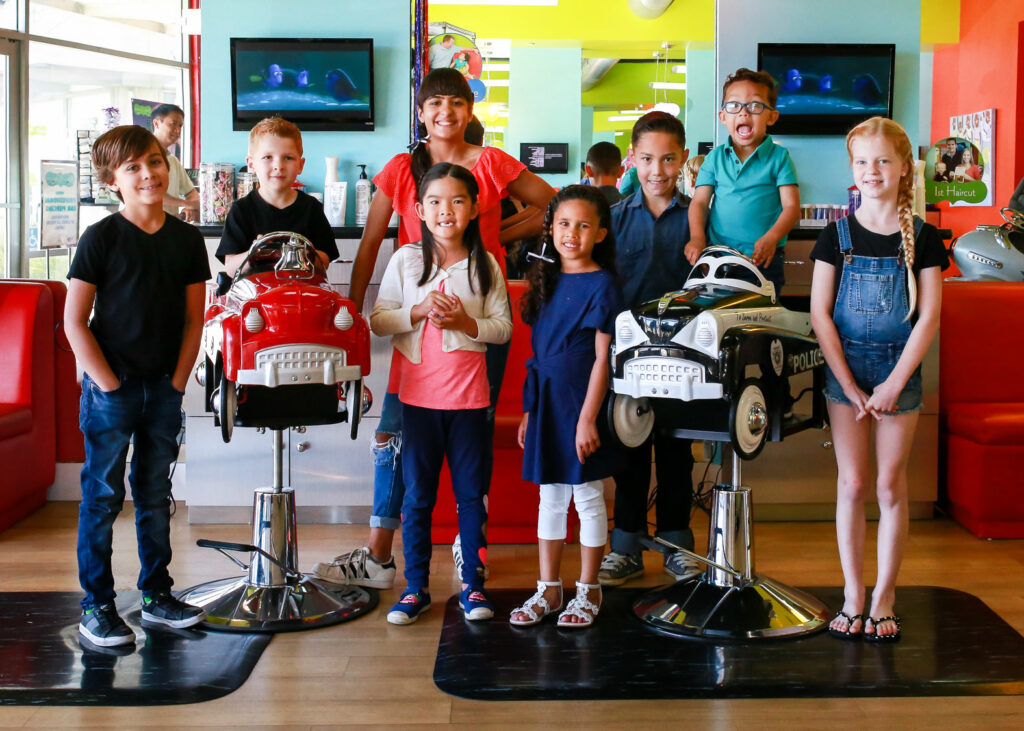
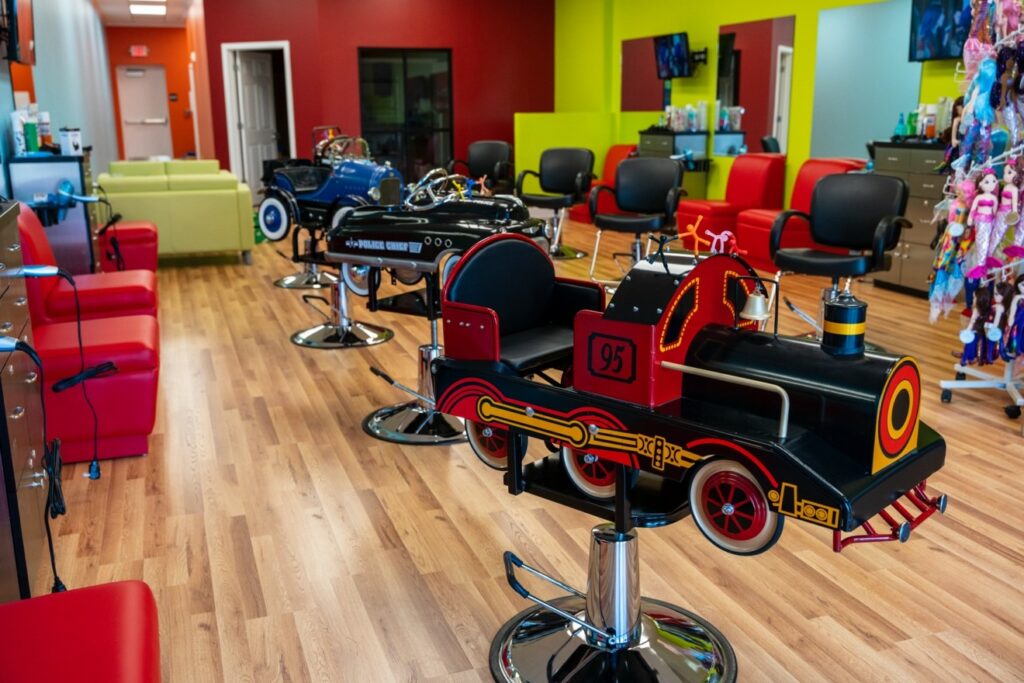
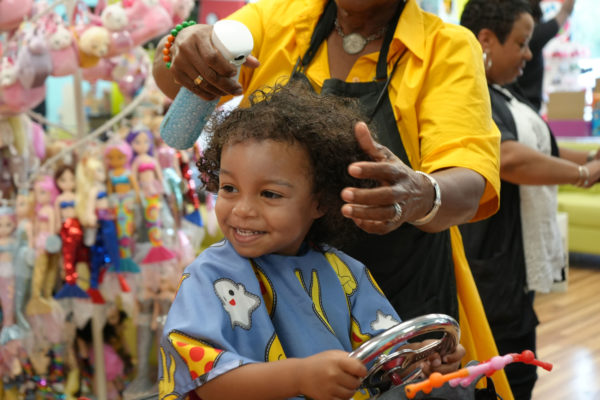
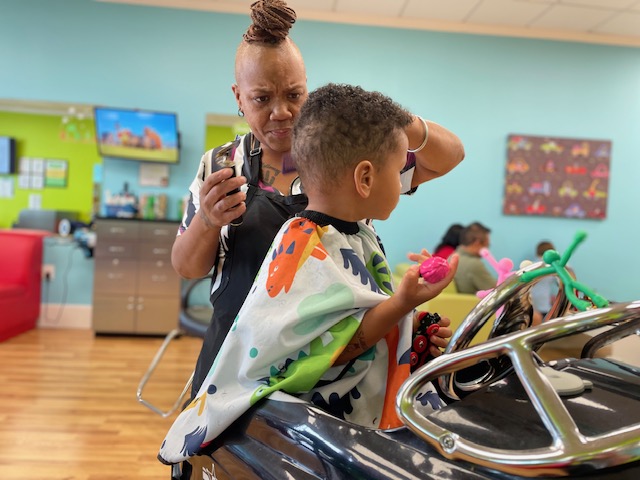
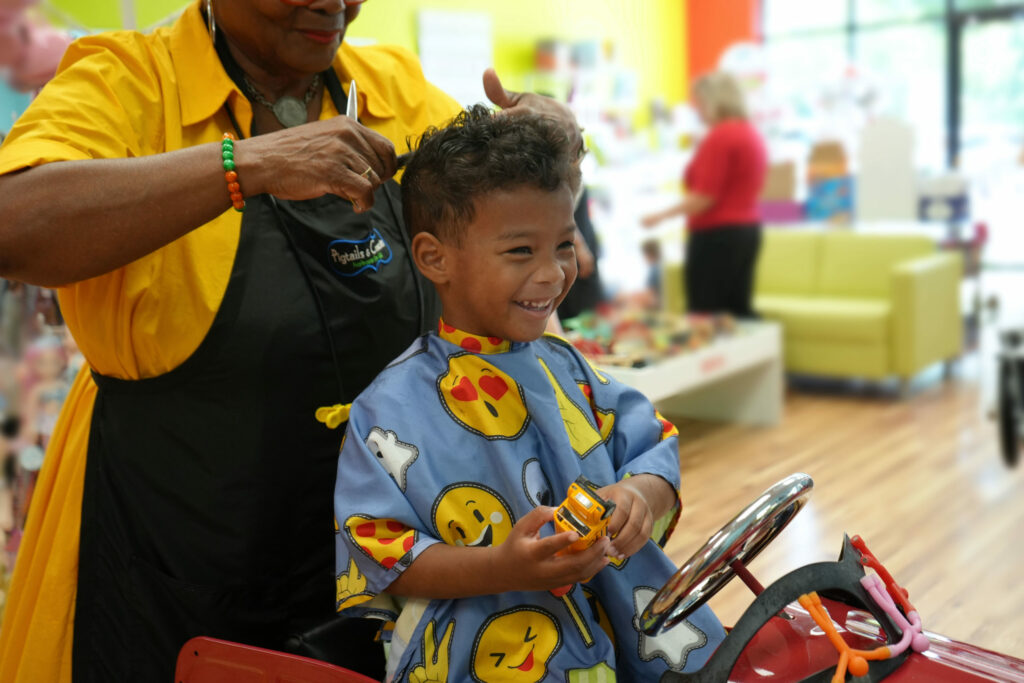
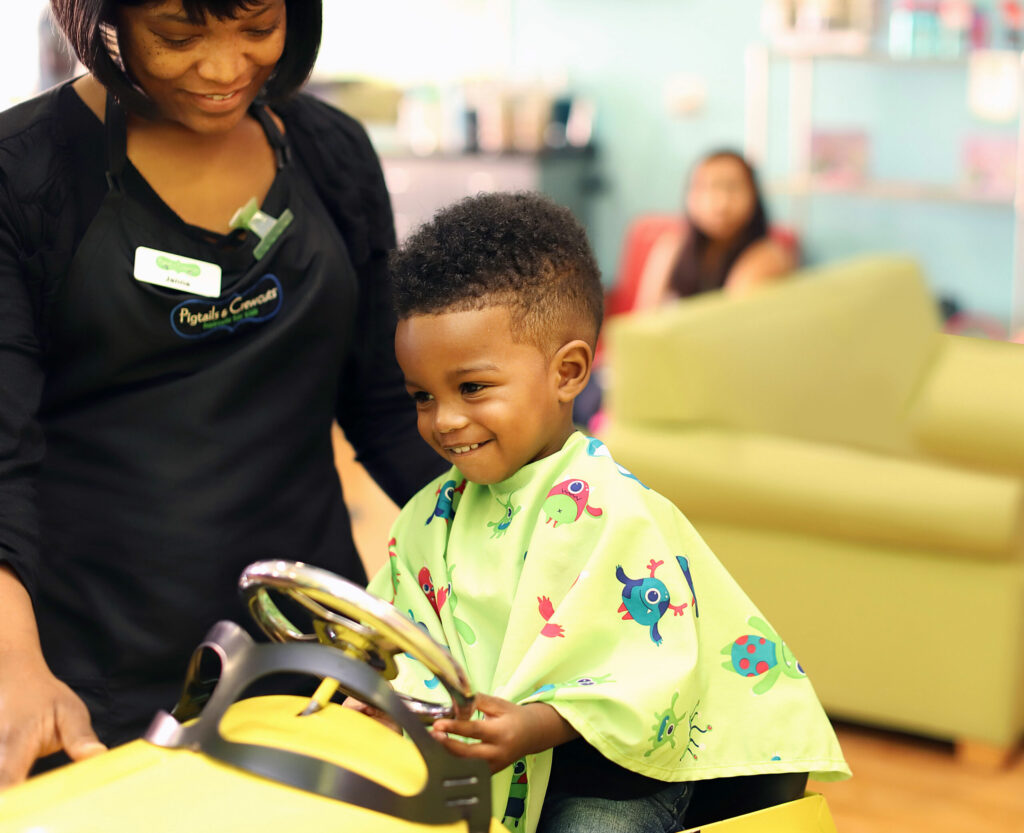
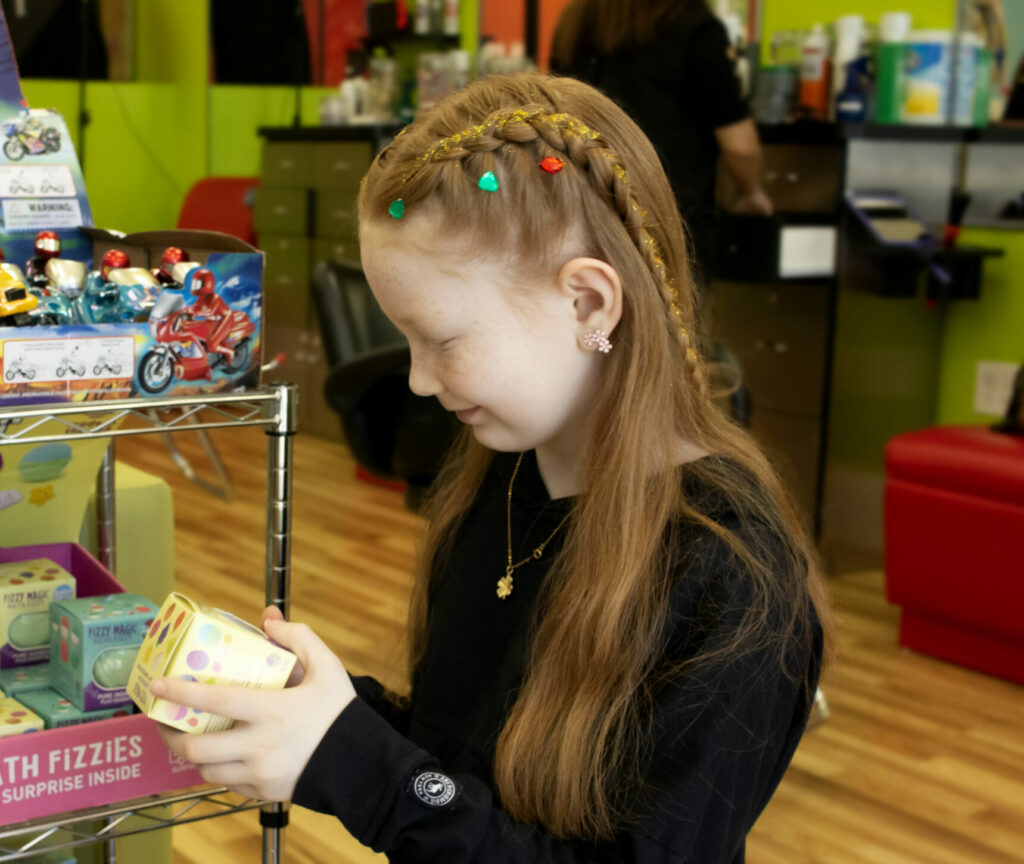
Specialized salons for children often have themed decor, toys, and entertainment (TVs, tablets, books) to keep kids distracted and happy.
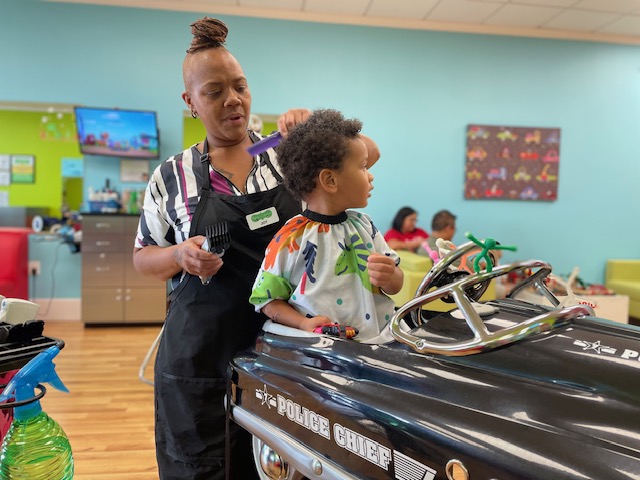
Stylists in these salons are usually trained to work with squirmy or nervous children.
2. Check for Experienced Stylists
Make sure the salon has stylists who have experience cutting children’s hair, especially if your child is very young or has special needs.
Read reviews or ask other parents for recommendations.
3. Consider Cleanliness & Safety
The salon should be clean, well-lit, and follow proper sanitation practices.
Make sure tools like scissors and clippers are disinfected between uses.
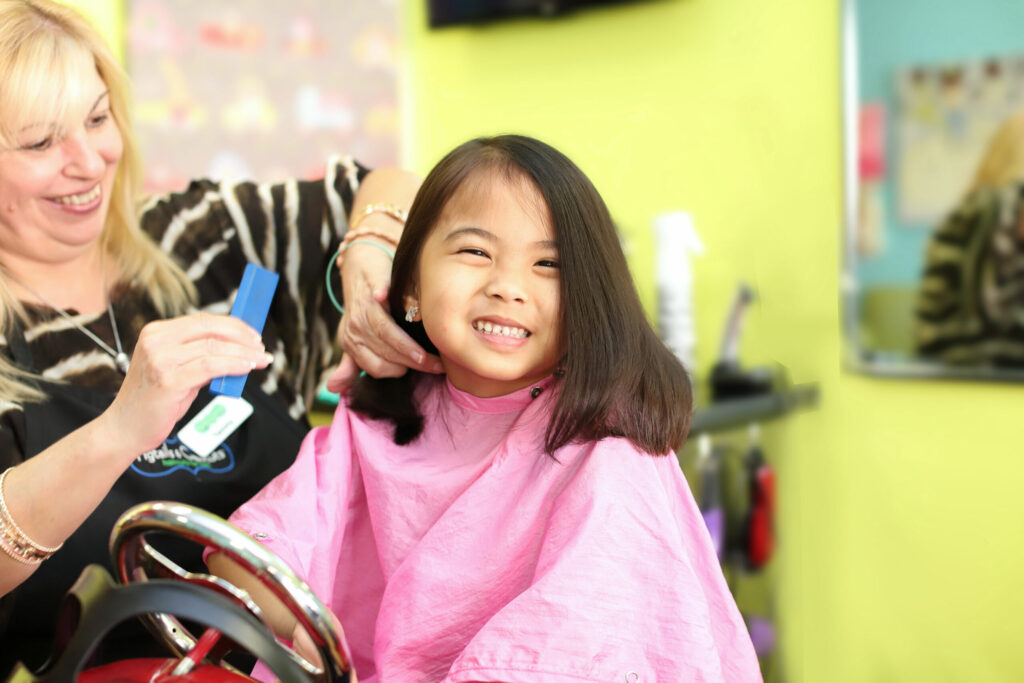
4. Assess the Atmosphere
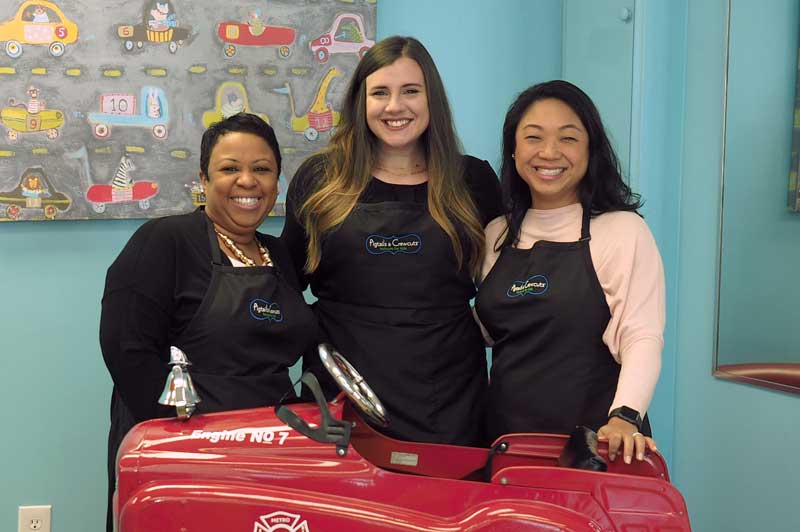
A warm, patient, and friendly staff can make all the difference.
Try visiting the salon beforehand to observe how they interact with kids.
5. Book a Trial Visit or Consultation
Before committing, you might schedule a simple trim or visit to see how your child reacts to the environment and stylist.
7. Look for Online Booking & Flexible Hours
Especially with kids, it helps to be able to book online or reschedule easily.
Some salons offer off-peak hours when it’s quieter, ideal for sensitive or easily overwhelmed children.
8. Check Price & Services
Kid salons may cost more than general salons, so ask about prices in advance.
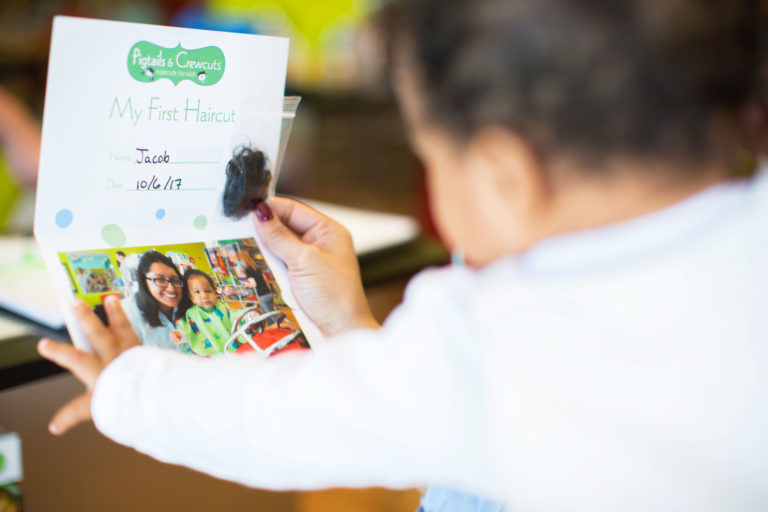
Some offer bundles (cut, style, photo), or first haircut certificates for keepsakes.
Choosing the right salon is about more than just a haircut — it’s about ensuring a safe, positive, and enriching experience for your child. A child-friendly salon fosters trust, encourages good hygiene habits, and makes personal care something they can look forward to. Click the link below to book your appointment today!
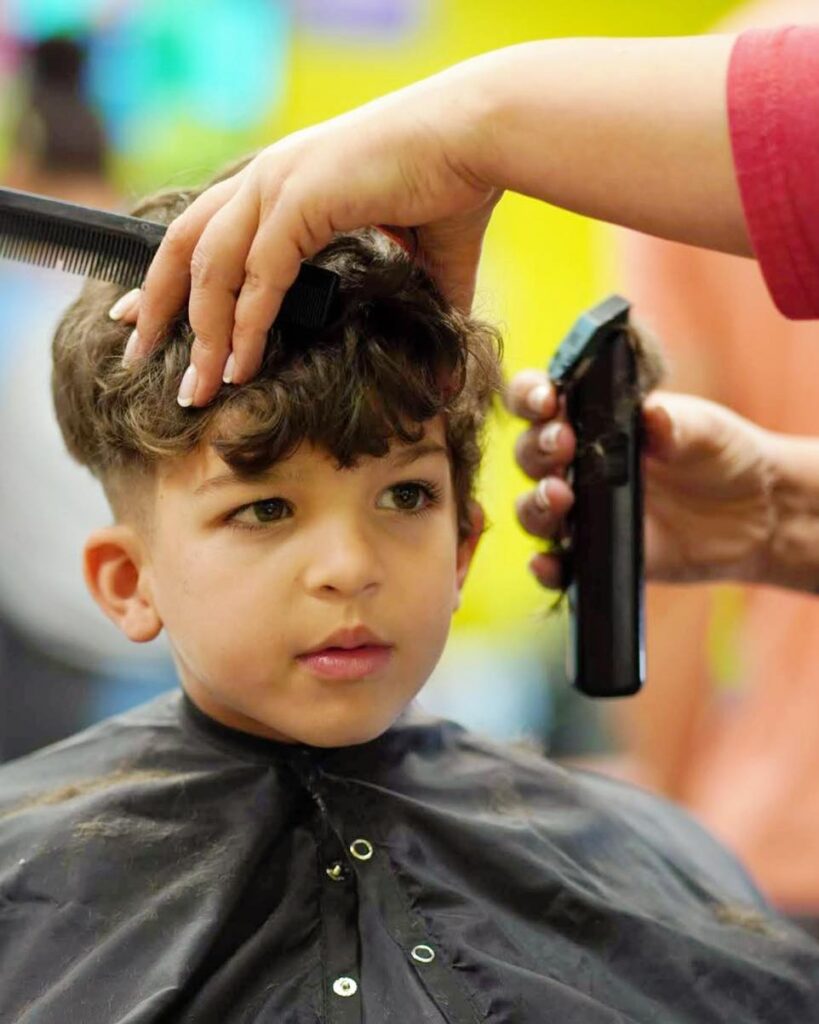
When well-kept, curly hair can look stunning on boys. It is all about embracing the texture, using the correct products, and choosing the right style. These are some tips for maintaining natural curly hair.
1. Moisture is Key
Because curly hair is particularly dry, use sulfate-free shampoo and hydrating conditioner.
Deep condition once weekly to maintain curls soft and manageable.
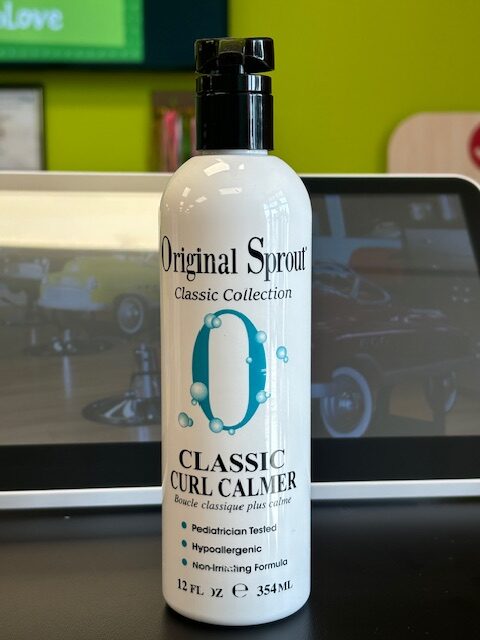
2. Apply Leave-In Conditioners and Curl Creams
Reduce frizzy hair while also defining curls. Choose a lightweight product if you prefer less hold.
3. Don’t Over-Wash
Washing 1-3 times a week suffices for most boys with curls. Over-washing leads to dry curls.
4. Handle Drying with Care
Regular towels cause frizz, instead utilize microfiber towels or T-shirts for scrunch drying.
To maintain bouncy curls, air-dry them or diffuse on low heat.
5. Refrain from Brushing while Dry
Detangling with conditioner and wide tooth comb works best in the shower, or when hair is wet or damp. Brushing dry curls leads to frizz.
6. Trim Regularly
Getting it regularly trimmed prevents split ends and shape the cut so curls fall better.
Trimming every 8–12 weeks keeps curls looking fresh and avoids tangling.
Curly hair can be a blessing when cared for right—it’s all about moisture, patience, and the right techniques. Click the link below to book an appointment today!
Spring is the perfect time to experiment with fresh and vibrant hairstyles for both boys and girls. Here are some spring-inspired hairstyles that are stylish and perfect for the season.
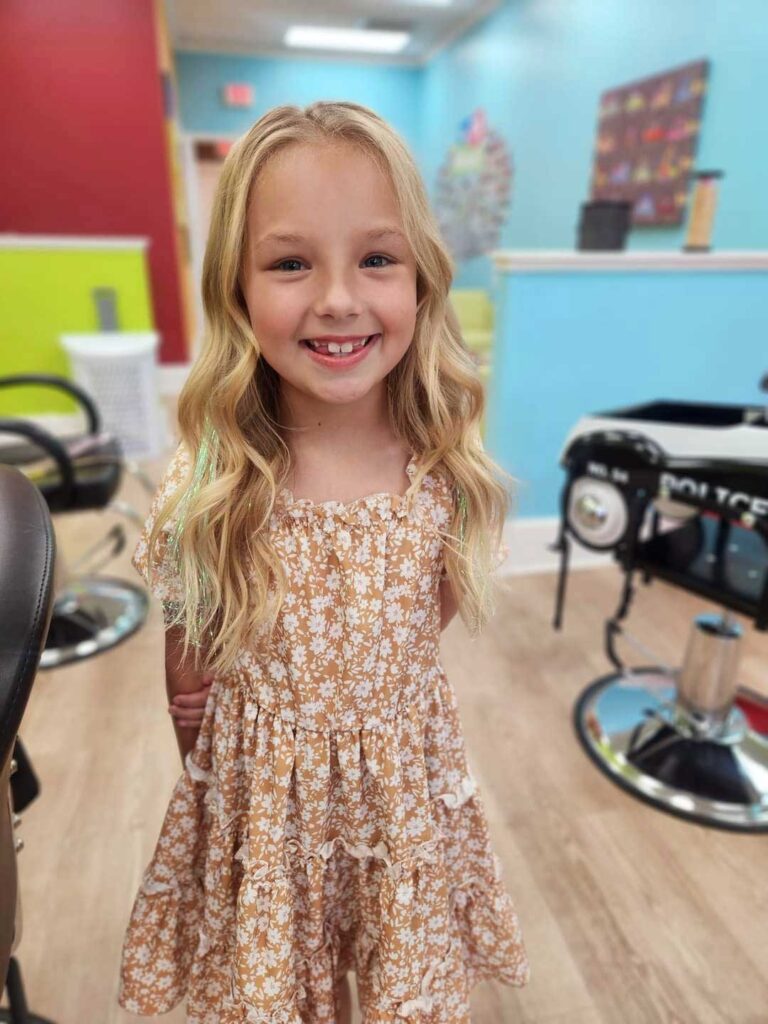
1. Long Layers with Fairy Hair Highlights
Long hair with layers can add movement and volume, and adding subtle fair hair will give it a sunny, springy feel.
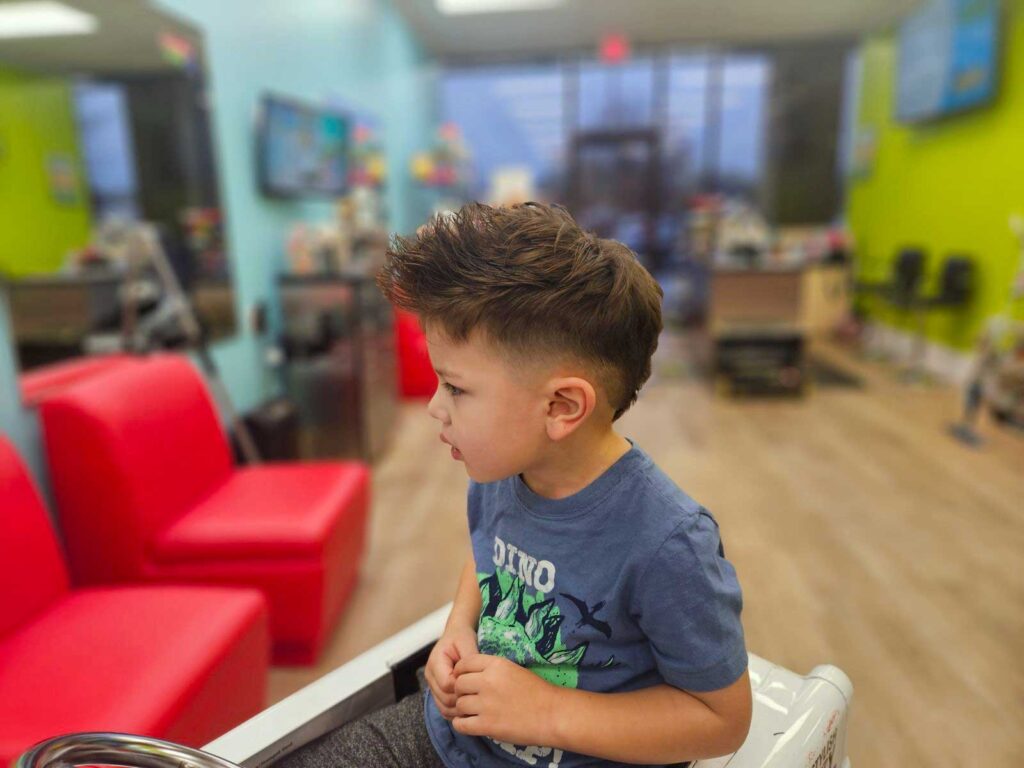
2. Undercut with Messy Top
The undercut, with a longer, messy top, is perfect for a relaxed yet edgy look. This haircut is super trendy and great for keeping cool during the warmer months.
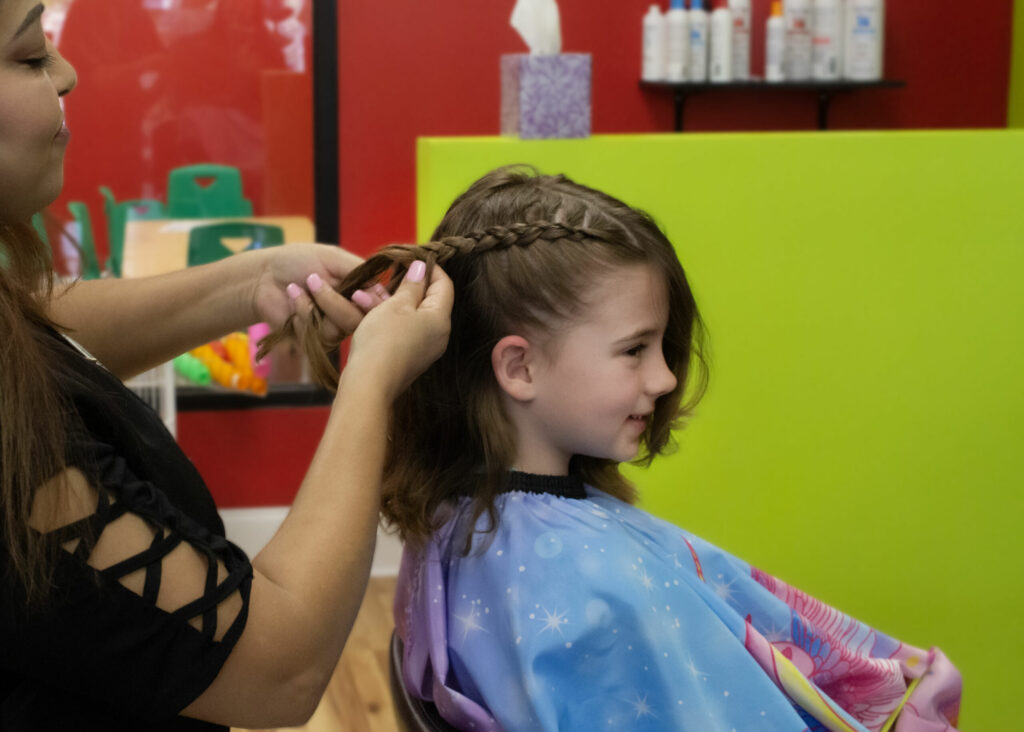
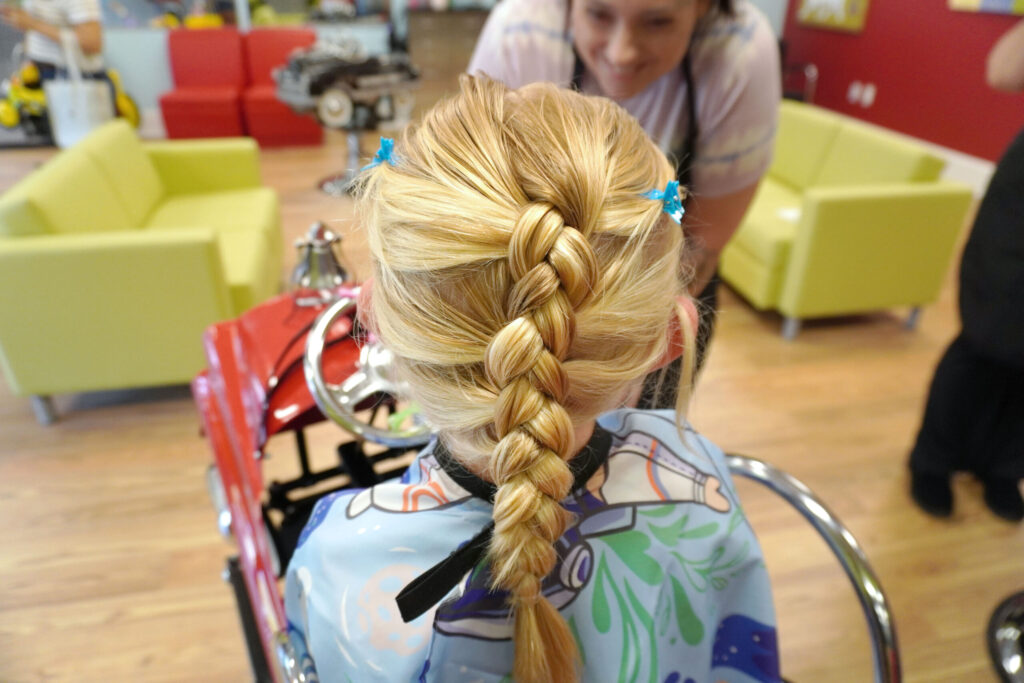
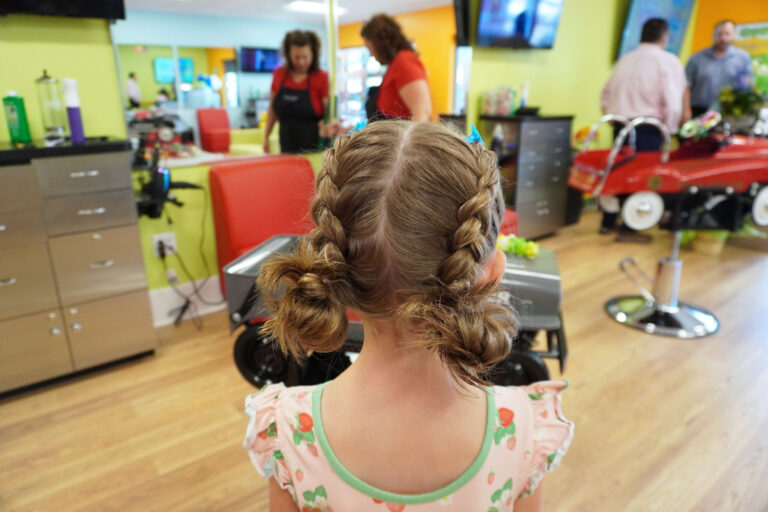
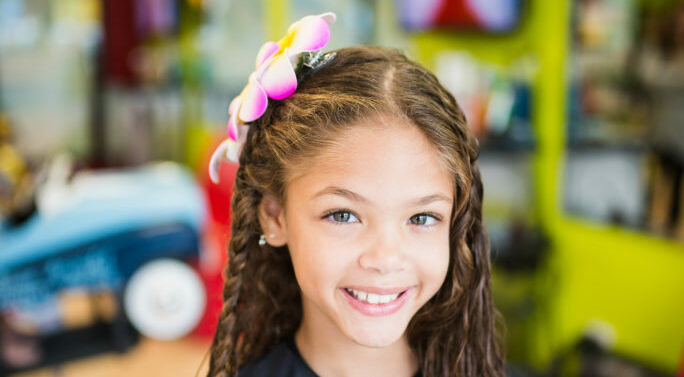
3. Braids and Twists
If your child has longer hair, consider adding soft braids or twists around the crown or incorporating them into a half-up hairstyle. This style screams spring with its relaxed, boho charm.
4. Fade with Textured Top
A fade haircut on the sides with a textured top gives a clean yet stylish look. It’s versatile and works well for both casual and formal settings.
5. Lob (Long Bob)
A lob with either light waves or straight texture is a stylish option that’s not too short and not too long. It’s low-maintenance and perfect for spring activities.
6. Crew Cut with Side Part
A crew cut with a subtle side part gives a sharp, modern look. It’s ideal for a neat, put-together vibe while still feeling spring-ready.
These spring-inspired hairstyles for both boys and girls are great for embracing the season’s lightness and energy! Click the button below to schedule an appointment for your child’s spring look.
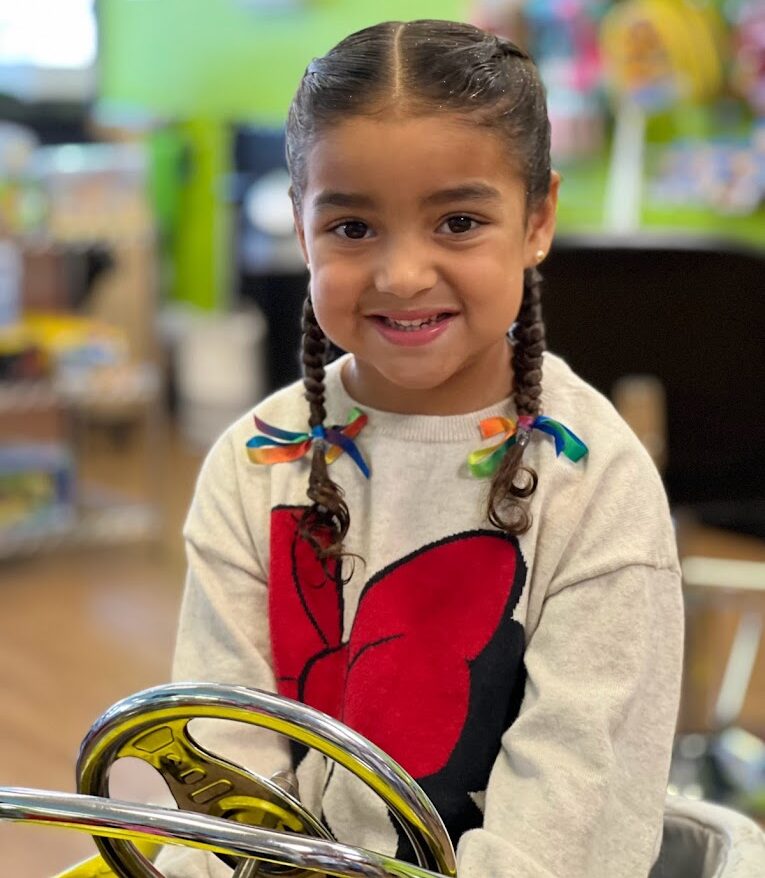
Braids can be beneficial for maintaining healthy hair in several ways, including:
1. Reduced Hair Breakage
Braiding your hair can help protect it from environmental damage, such as wind or sun exposure. It keeps strands together, reducing the risk of tangling and breakage from friction.
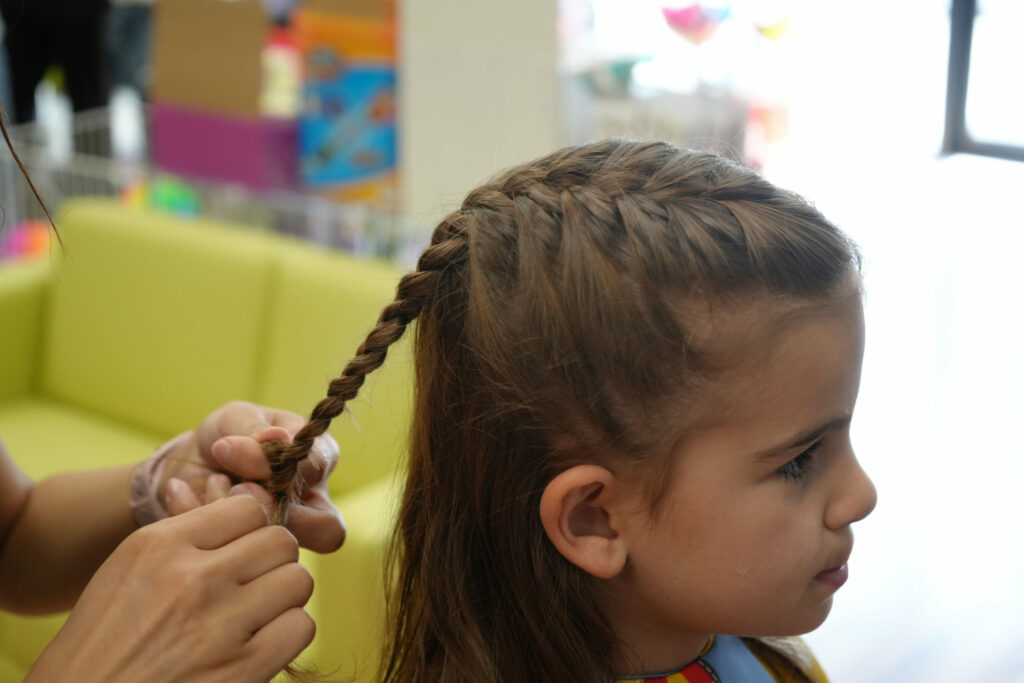
2. Less Manipulation
Wearing braids means you’re styling your hair less frequently. Constant combing, brushing, or heat styling can weaken hair over time, so braids help minimize the need for daily styling.
3. Protection from Split Ends
Since braids keep the ends of your hair secured, they can reduce the chances of split ends, especially if you’re using the right type of braid that doesn’t pull too tightly.
4. Retains Moisture
Braids can help retain moisture by protecting hair from drying out. When hair is braided, it is less exposed to air, which can help prevent it from becoming dry and brittle.
5. Promotes Hair Growth
While braids themselves don’t directly stimulate hair growth, they do create a protective style that prevents breakage and allows hair to grow without as much damage. Some people also find that braiding helps maintain their natural curl pattern or texture, contributing to overall hair health.
6. Reduces Frizz:
Braids can help smooth out the hair shaft, reducing frizz and flyaways. This is especially beneficial for those with curly or wavy hair.
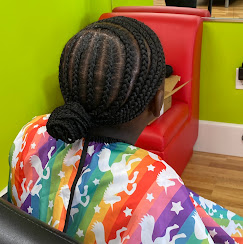
7. Protective Styles for Natural Hair:
For those with natural or textured hair, braids can offer a low-maintenance protective style that minimizes the need for heat styling or frequent manipulation, both of which can damage delicate hair textures.
Although braids can be a great style for obtaining health hair, be careful with tight braids, as they can cause tension and lead to breakage or even traction alopecia. Always make sure your braids are comfortable and not pulling too tightly! Click the link below to review of our previous blog posts on hair braiding.
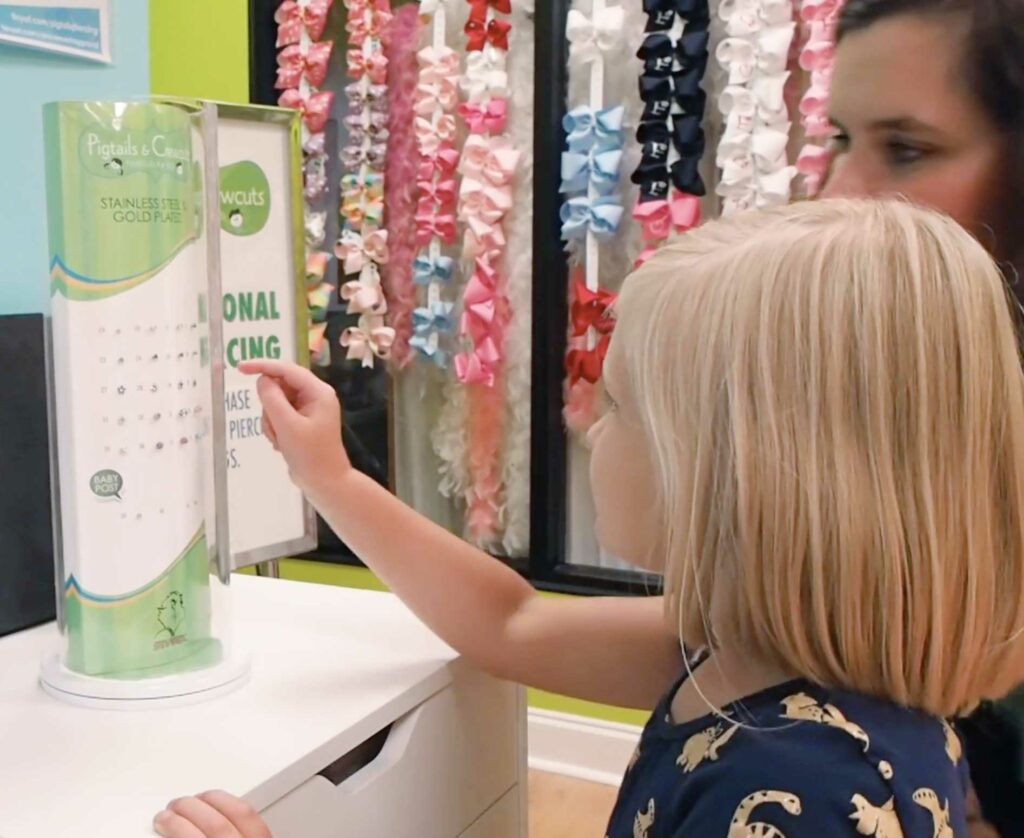
Preparing a child for ear piercing requires a combination of emotional readiness, practical preparation, and ensuring their safety and comfort throughout the process. Here are the steps to help you prepare.
1. Assess Your Child’s Readiness
Make sure your child is old enough to understand the process and follow instructions. For many children, this could be around 5-7 years old, but it varies.
Interest and willingness: Ensure your child is excited or at least comfortable with the idea. Avoid pressuring them into it.
Understanding the procedure: Talk to your child about what will happen and what they can expect during the piercing. If they have any fears, address them calmly.
2. Discuss the Procedure
Explain the process: Let your child know that the piercing is quick but may hurt a little, like a quick pinch or sting. It’s essential to set realistic expectations about the discomfort, but reassure them that it will be over quickly.
Use positive language: Avoid using words like “hurt” or “pain.” Instead, use terms like “pinch” or “pressure” to reduce anxiety.
Involve them in the decision-making: Let them choose their earrings from a selection of hypoallergenic options (gold, titanium, etc.) to give them some sense of control.
3. Prepare Your Child Emotionally
Calm nerves: If your child is nervous, you can practice deep breathing exercises together or talk about calming thoughts to keep them relaxed.
Encourage bravery: Praise your child for being brave and help them feel empowered. You can even talk about how getting their ears pierced is a special rite of passage.
Provide a reward: Offer a small treat or reward after the procedure to create a positive association with the experience.
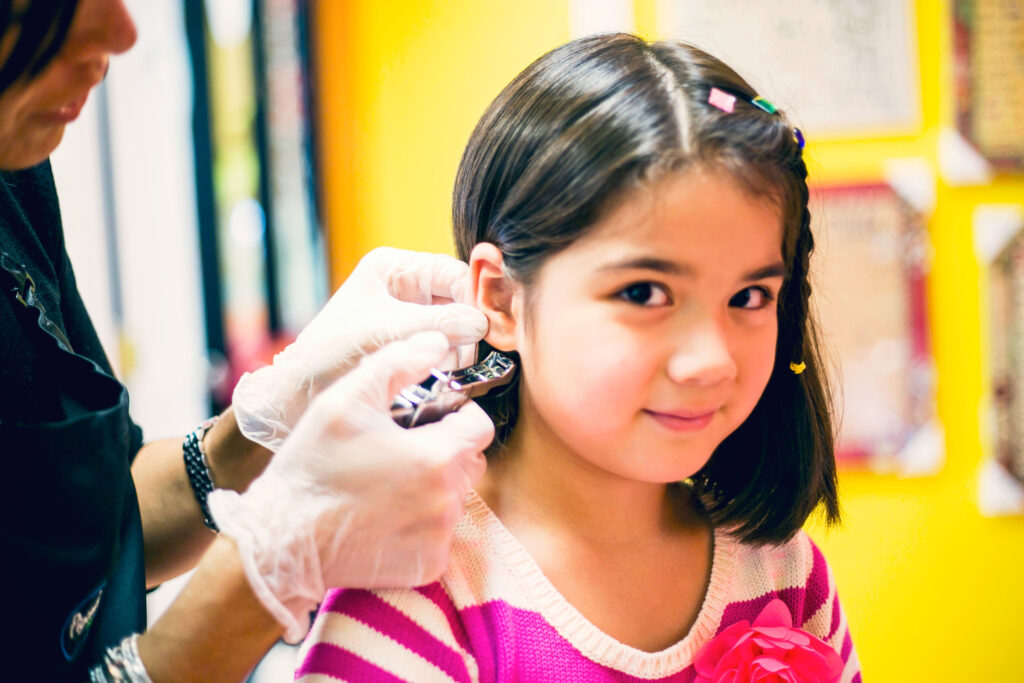
4. During the Piercing Appointment
Stay calm: Children can pick up on your emotions. If you’re calm and positive, they’ll be more likely to remain calm too.
Supportive presence: Be by their side, hold their hand, and offer reassurance throughout the procedure. You can also bring a comforting toy or blanket for them to hold.
Distraction: Sometimes it helps to distract them during the procedure by having them look away or talk to you about something unrelated to the piercing.
5. Post-Piercing Care
Immediate reaction: Right after the piercing, offer comfort and praise. It’s normal for the ears to be a little red or swollen, but this should subside in a day or two.
Pain management: If your child feels sore, you can apply a cold compress to reduce swelling or give them an over-the-counter pain reliever (based on your pediatrician’s recommendation).
6. Monitor the Healing Process
Watch for infection: Keep an eye on the piercing for signs of infection, such as excessive redness, swelling, discharge, or warmth. If you notice any of these, contact a healthcare provider.
Healing time: Ear piercings usually take 6-8 weeks to heal fully. During this time, ensure your child doesn’t twist or play with the earrings.
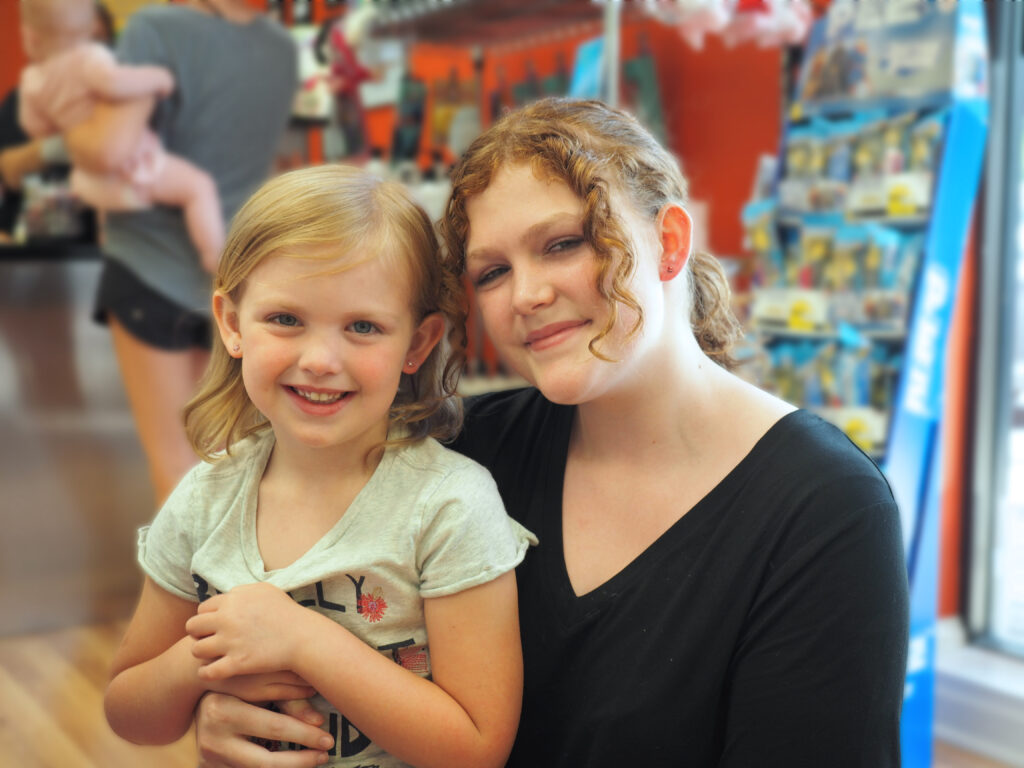
Getting your chid’s ears pierced can be a positive experience when following the steps above. Click on the link below to speak with someone at our salon about our ear-piercing procedure, or to book an appointment.
Holiday hair for kids can be fun, festive, and easy to do, whether you’re preparing for a family gathering, school party, or just enjoying the season at home. Here are some cute and creative ideas to try out.
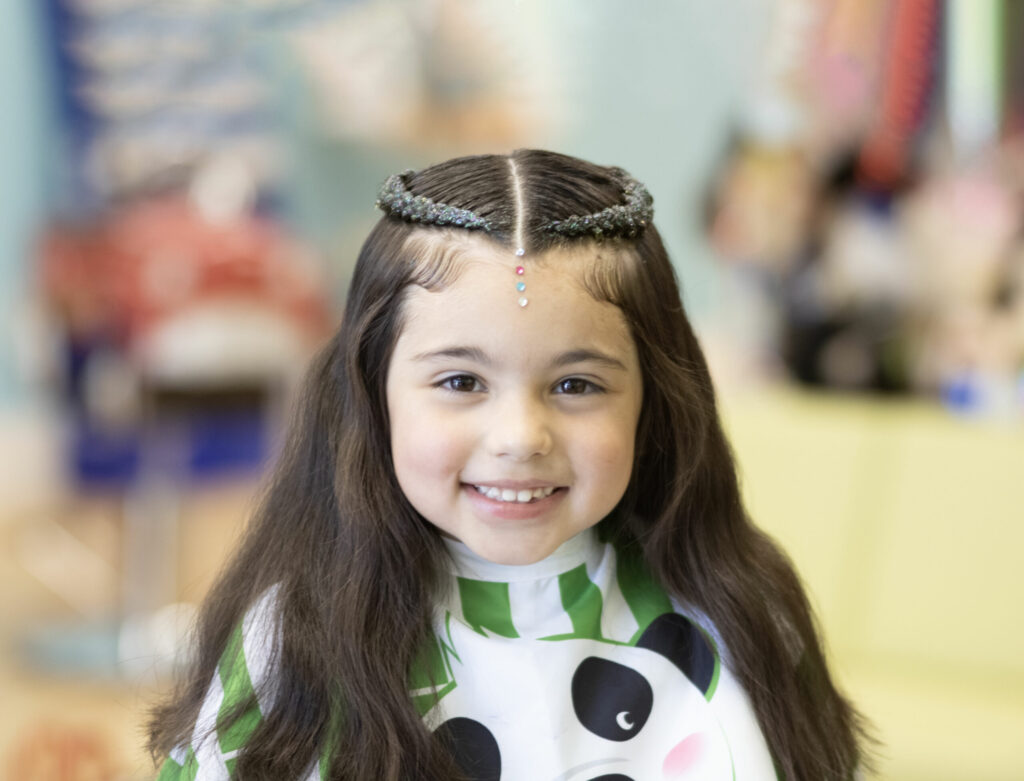
Wreath Crown Braid
What You’ll Need: – Hair elastics – Bobby pins – Green ribbon – Hair bow – Red string of beads (Optional)
Rudolph Bun
What You’ll Need: – Hair elastics – Bobby pins – Red puff ball – Googly eyes – Brown pipe cleaners – Hot glue gun – Bun maker (optional)
Christmas Tree Braids
What You’ll Need – Hair elastics – Green Ribbon – Star Hair Clip – Small decorative clips (Optional)
These styles are super adaptable depending on the length and texture of the child’s hair and can work for both casual holiday fun or more formal occasions. Plus, they give you a chance to get extra creative with your accessories! Click the link below to view our previous blogs from this year.