Fun Styles
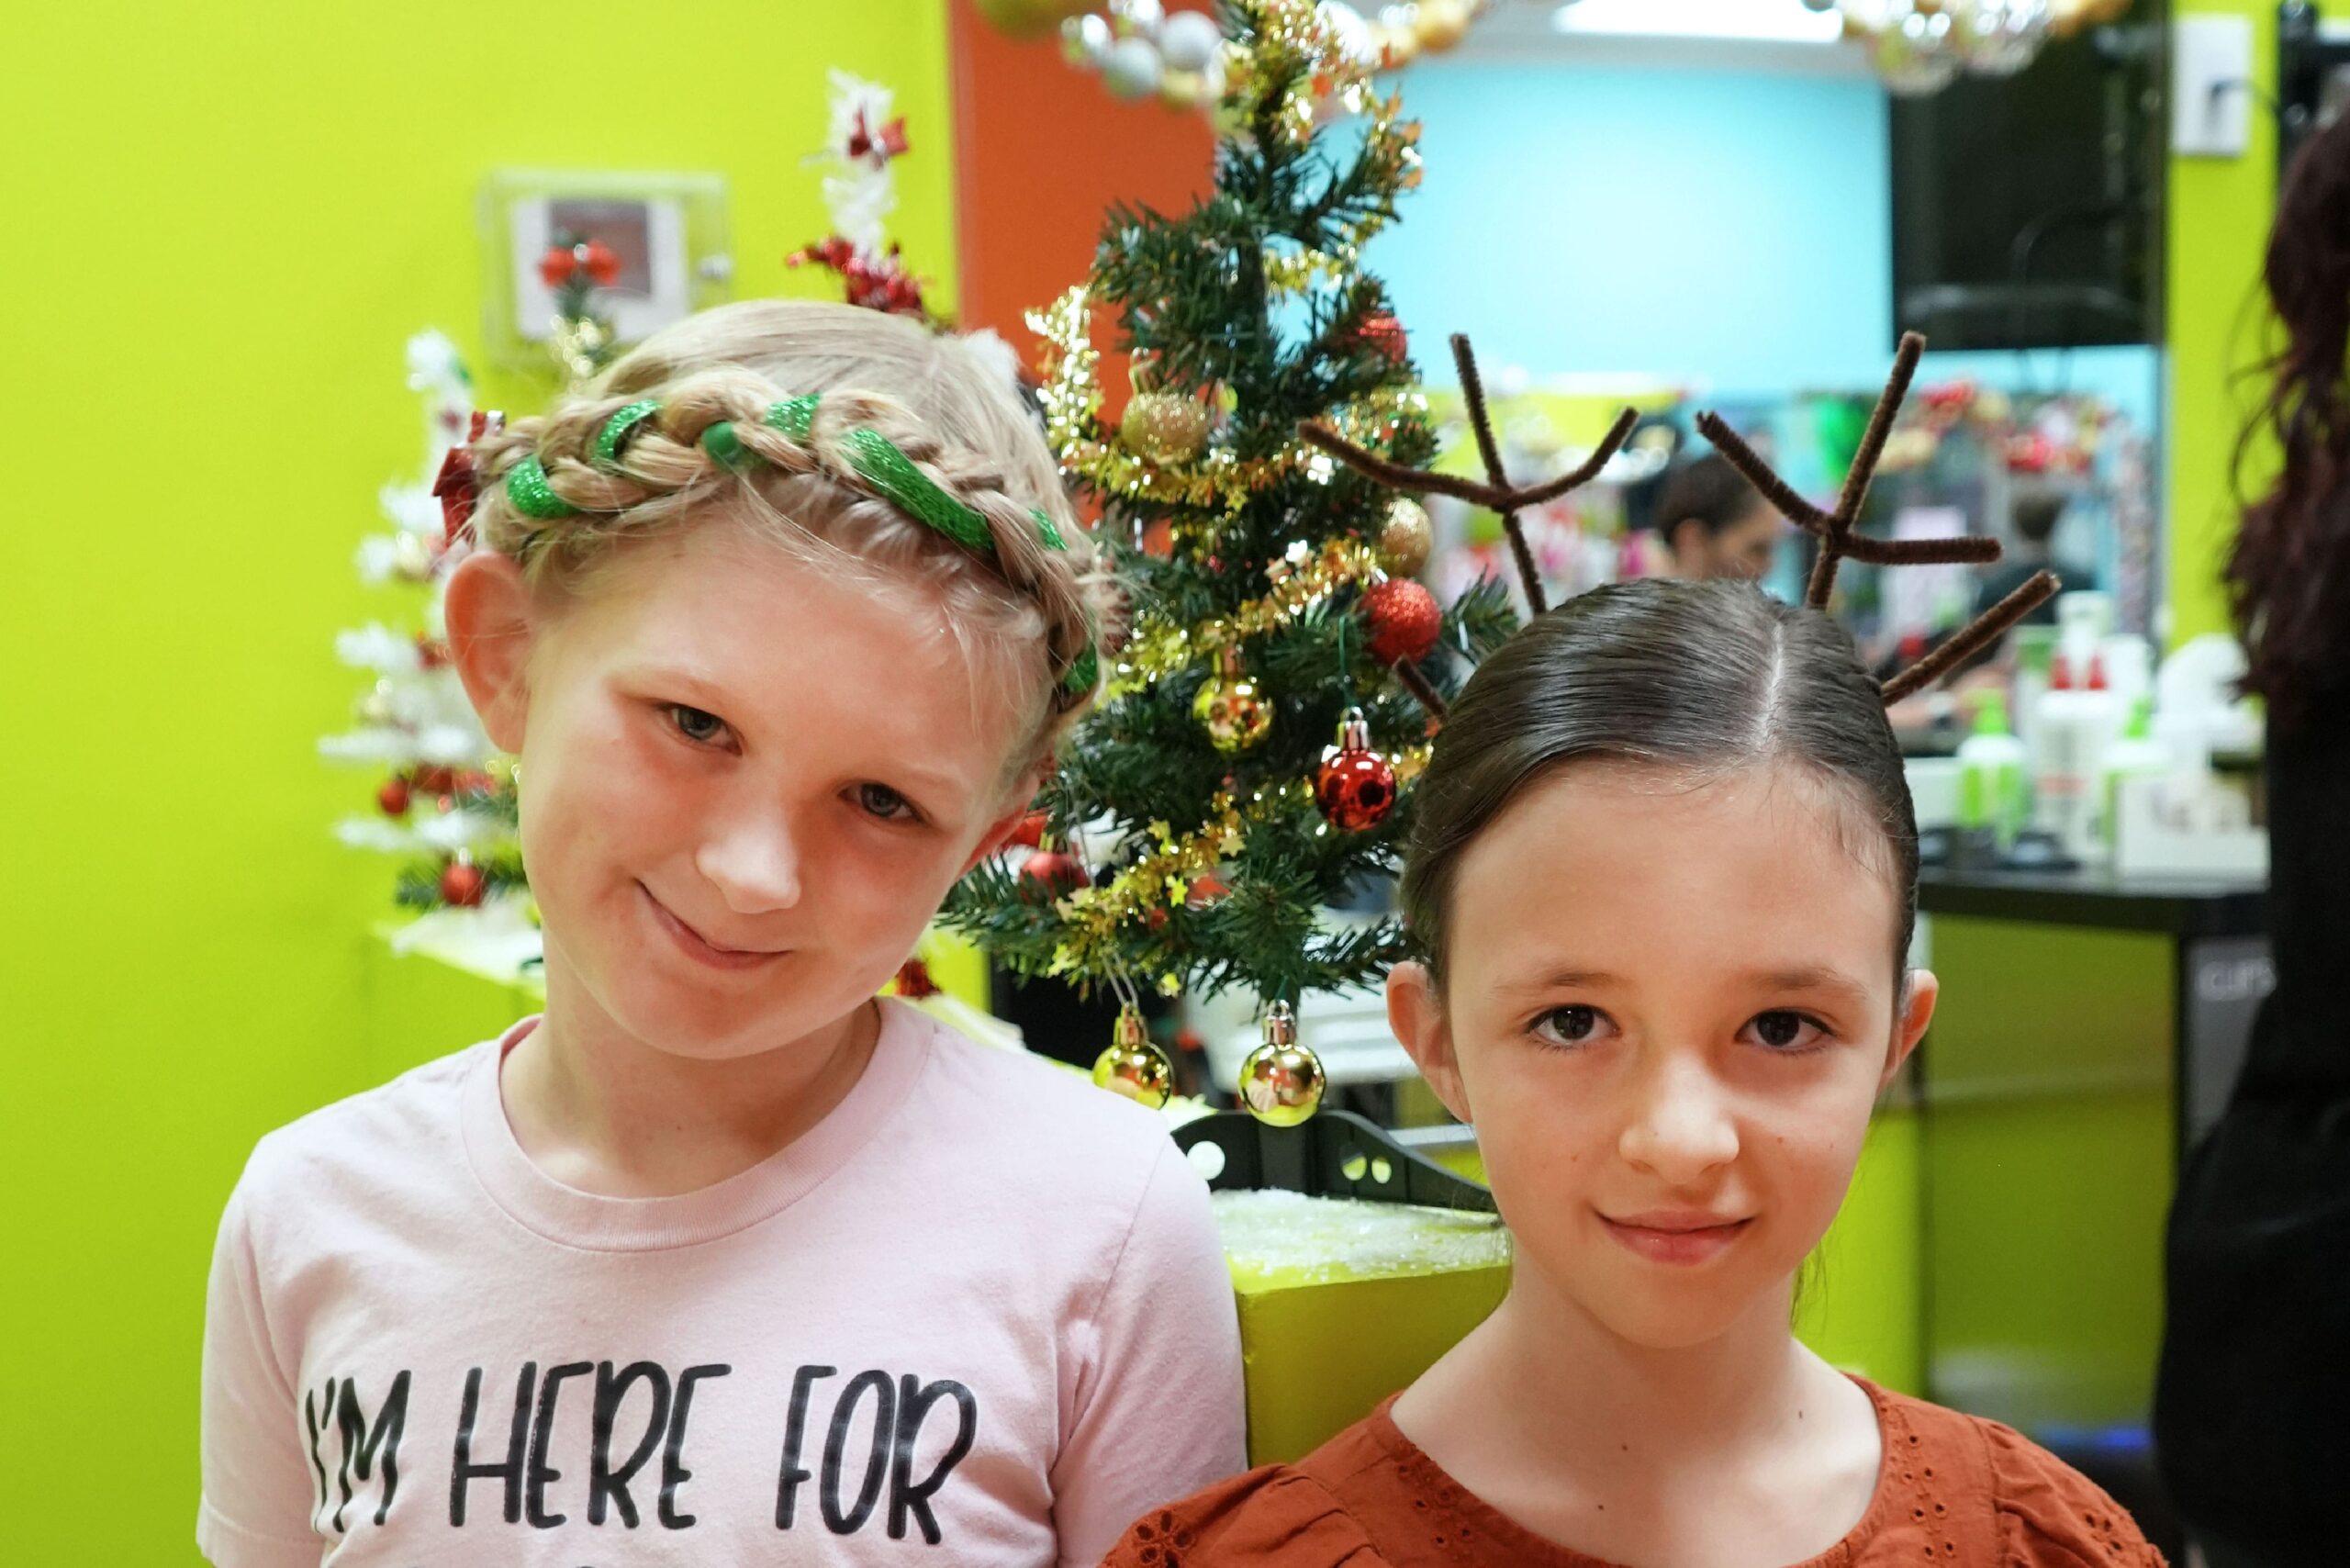
The holiday season is just around the corner, and what better way to get your little one into the festive spirit than with some creative holiday hairstyles? Whether it’s a candy cane braid or a Rudolph bun, these fun and festive hairstyles will have your child feeling merry and bright! Plus, they are perfect for family gatherings, school holiday parties, or just adding a little cheer to your everyday routine. In this blog, we’ll walk you through some simple, kid-friendly holiday hair tutorials that are sure to impress! Feel free to tweak and adjust them to fit your child’s hair type and personal preferences.
Candy Cane Braid
What You’ll Need
- Hair elastics
- Hair clips
- Red ribbon
- White ribbon
- Craft needle or topsy tool (optional)
Create Your Shape – Create a deep side part and clip the side with less hair to keep it out of the way. Beginning towards the back of the part you just created, create another part going in a curved candy cane shape around the crown of the head. Take this section of hair and clip it out of the way as well.
Moving to the other side of your child’s head, starting at about the arch of their eyebrow, section off the hair straight back and clip the bottom portion out of the way. You should be left with a medium-sized candy-cane-shaped section at the top of your child’s head.
Start the Sweet Braid – Pick up a small section of hair from where you first parted it. Split this section into three strands to begin a Dutch lace braid.
Dutch Lace Braid
1. Begin a Dutch braid by crossing the right section of hair under the middle section so that the right is now the middle piece of hair.
2. Then, cross the left section under the middle, making the left the new middle piece of hair to create your first stitch.
3. Next, on the right-hand side gather a small piece of hair and add it to the right-hand section in your hand.
4. Cross that under the middle strand so that it is now the middle.
5. Then, cross the left section under the middle, without adding a new piece of hair. The key to a Dutch lace braid is to only add hair to one side of the braid.Finish the Candy Cane – Repeat these steps along the section of hair in a curved, candy cane shape. Once you run out of hair to add at the end of the section, regular Dutch braid your child’s hair down the length of your child’s hair and secure it with a hair elastic.
Thread the Magic – If you’re using a large plastic craft needle or a Topsytail tool, thread the red ribbon through it. Then, pull a few inches of the red ribbon through the beginning of the beginning of the braid and remove the needle or tool. Take the two ends of the threaded ribbon and tie a knot to secure it to the braid.
Rethread the red ribbon through your preferred tool (if using) and begin to weave the ribbon throughout the braid, leaving space in between each thread all the way down the braid. Tie the end of the ribbon into a knot to secure it. Repeat this process with the white ribbon, weaving it through the spaces in between each red ribbon.
Finishing Touches –
Once you’re happy with your ribbon placement, carefully cut off any excess ribbon. Using hairspray, spray down any flyaways if needed to secure your festive look!
Optional: Incorporate the braid and put your child’s hair into a half-up hairstyle or into a ponytail for extra fun!
Wreath Crown Braid
What You’ll Need
- Hair elastics
- Bobby Pins
- Green ribbon
- Hair bow
- Red string of beads (Optional)
Start the Crown – Section your child’s hair down the middle. Clip one section out of the way. Taking the other section, grab three sections of hair from the bottom of the part. Begin Dutch braiding the three sections.
How to Dutch Braid:
1. Gather three small sections of hair where you want to begin the braid. These sections of hair should be equal in size.
2. Cross the right section of hair under the middle section so that the right is now the middle piece of hair. Then, cross the left section under the middle, making the left the new middle piece of hair.
3. Next, on the right-hand side gather a small piece of hair and add it to the right-hand section in your hand. Cross that under the middle strand and then repeat this process on the left-hand side.
Dutch braid the hair along the crown of your child’s hair until you reach the opposite side of the middle part. Once you run out of hair to add, continue the braid down the length of your child’s hair and secure it with a hair elastic. Then, gently pull the outer edge of the braid to fluff it. Tuck the end of the braid under the start of the braid, securing it with bobby pins so that it looks like one continuous circle.Twist Into Festive Cheer! – Take your green ribbon and thread a few inches through the beginning of the braid, tying it into a knot to secure it. Then, begin to thread your ribbon around the entire braid. Tie a knot to secure it once you reach the end of the braid. Repeat this process with the red string of beads.
Finish off your look with your favorite bow to bring your festive wreath to life!
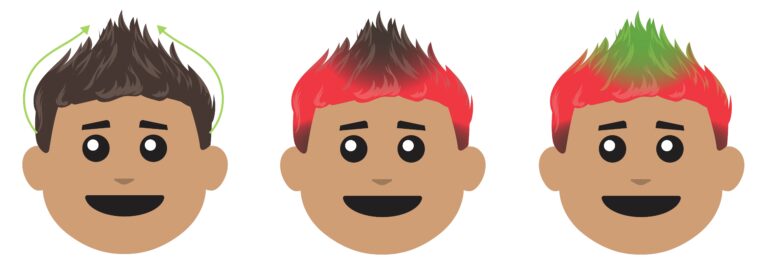
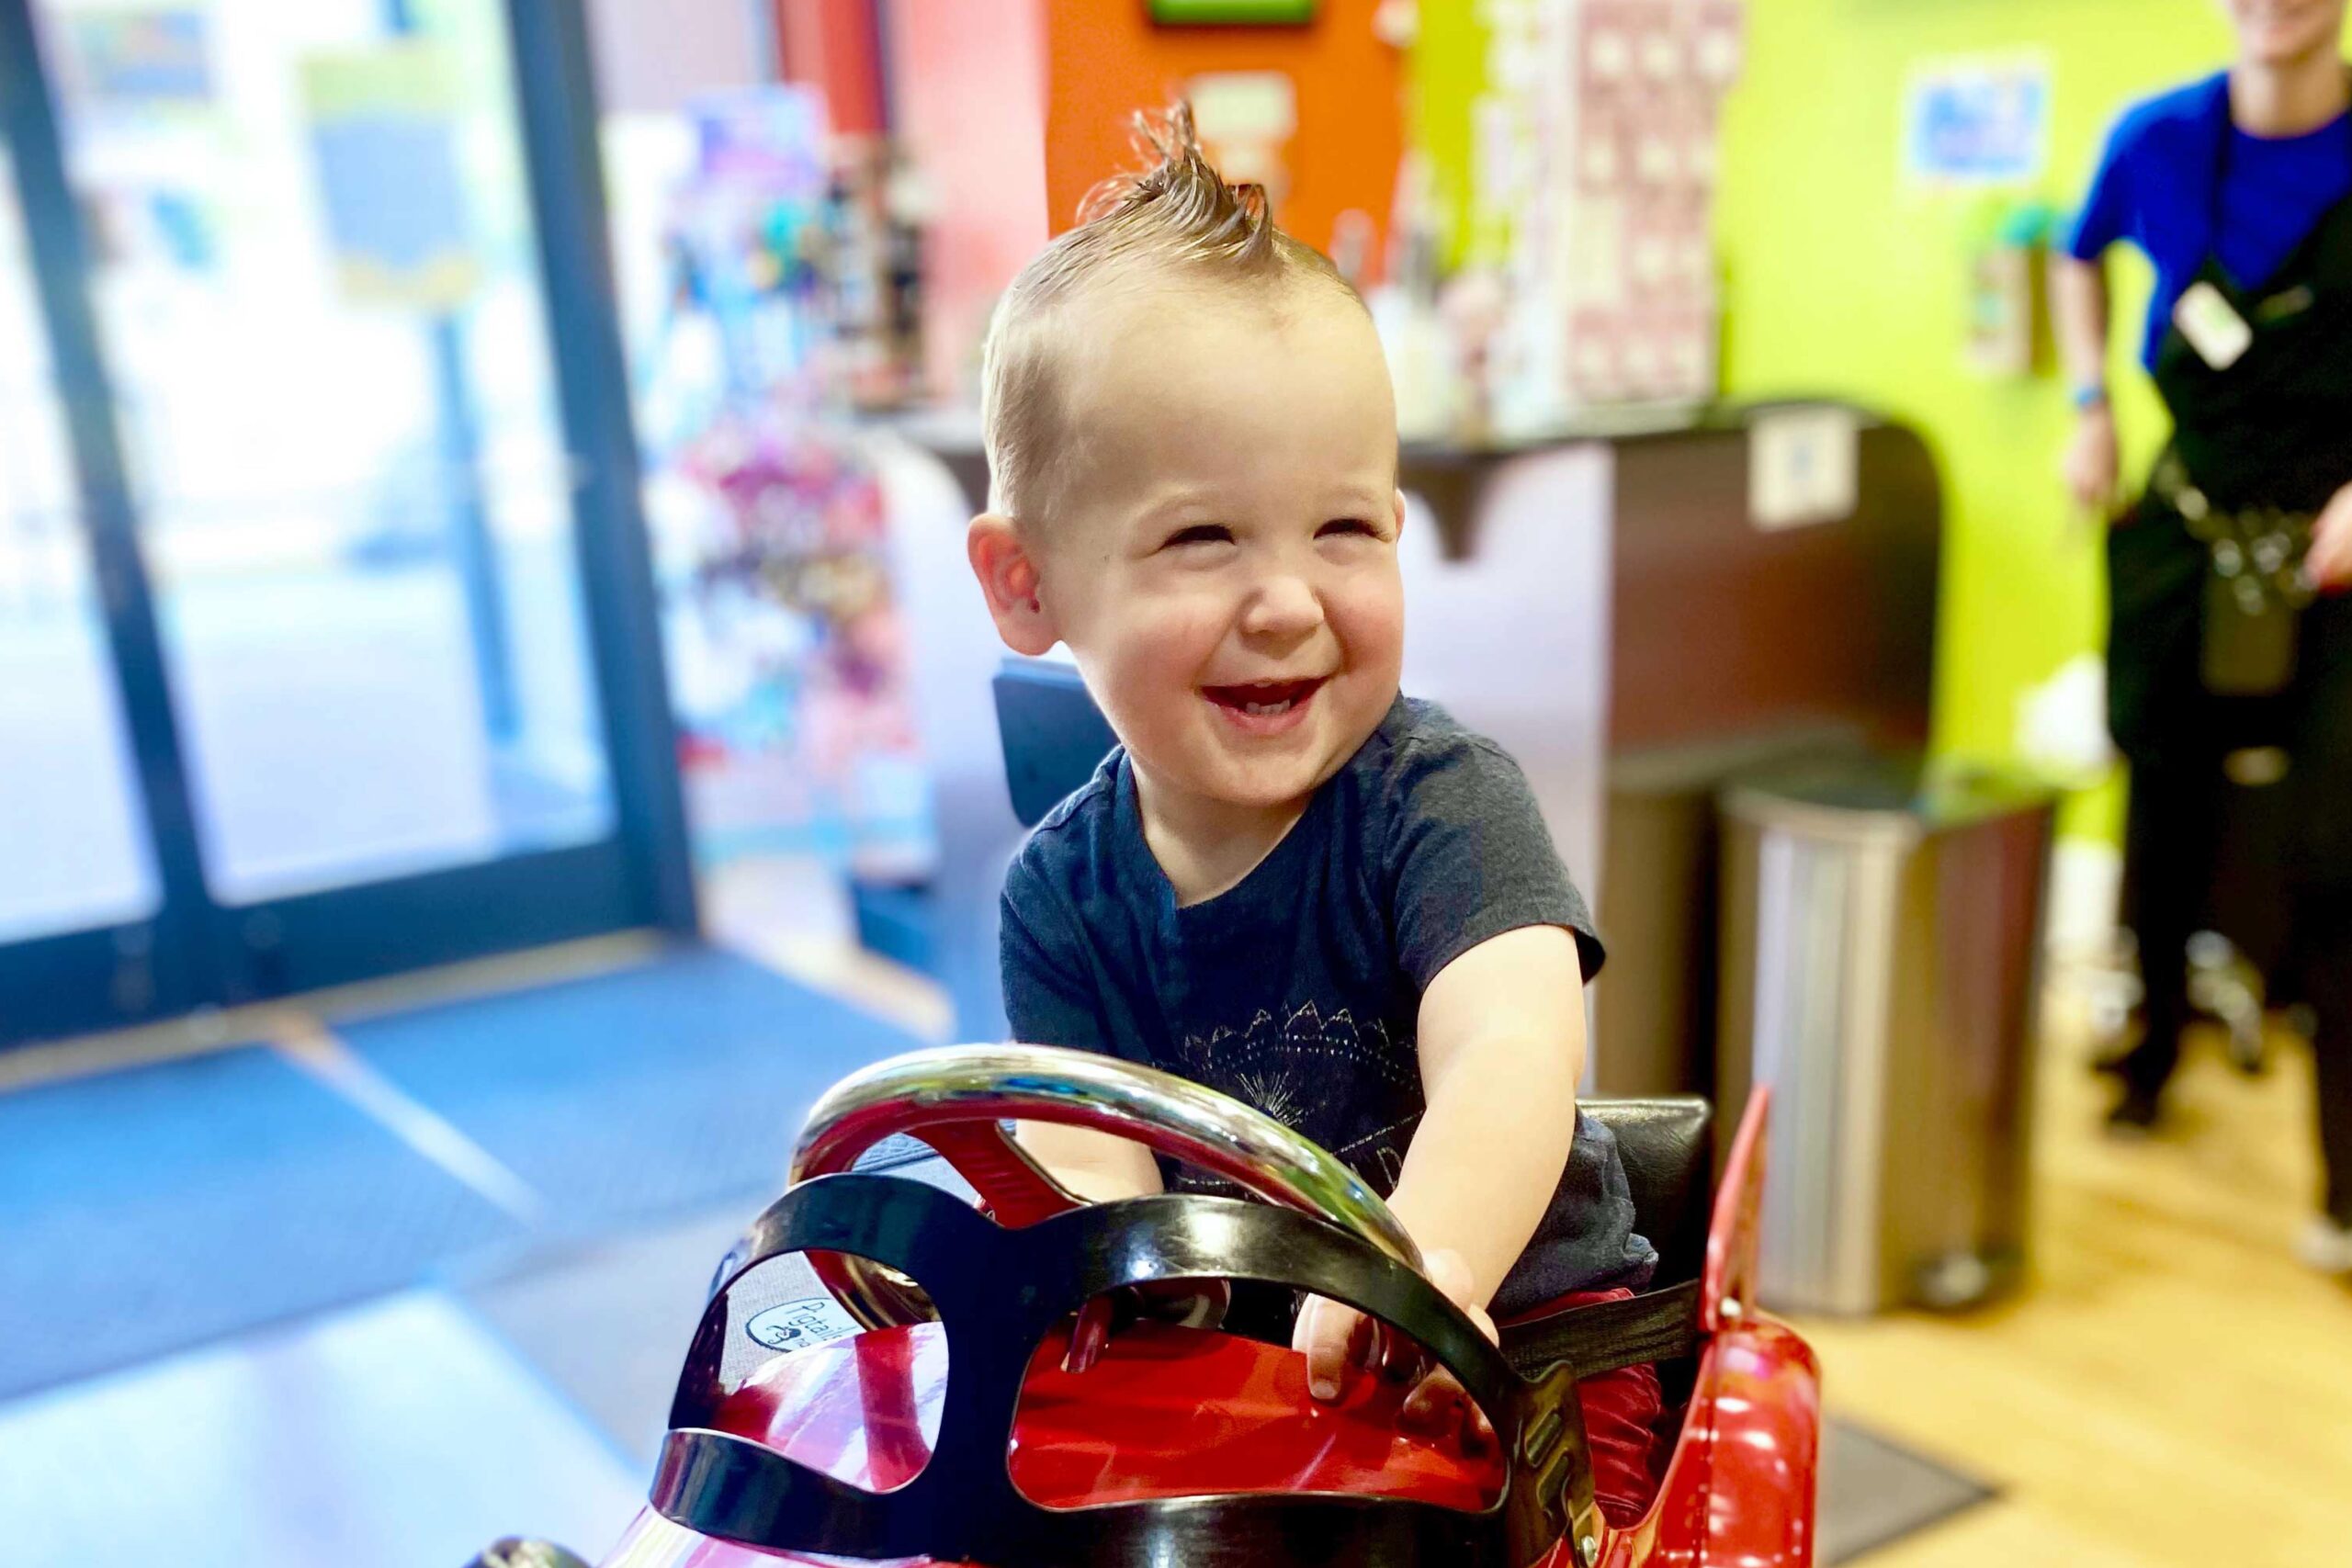
Festive Mohawk
What You’ll Need
- Strong hold hair gel
- Comb
- Red temporary hair color spray
- Green temporary hair color spray
Shape the Hair – Taking the gel, shape your child’s hair upwards to form a mohawk. Use the comb to smooth out any areas and adjust the shape to your liking.
Rock Around the Mohawk – Once you’re happy with the shape, spray the base of your child’s mohawk with red temporary hair color spray. Then, spray the mohawk with your green temporary hair color spray to complete your rockin’ holiday hair!
Rudolph Bun
What You’ll Need
- Hair elastics
- Bobby Pins
- Red puff ball
- Googly eyes
- Brown pipe cleaners (2)
- Bun maker (Optional)
Create Your Accessories – Take your brown pipe cleaners and create two antler shapes. Wrap the base of each antler onto a bobby pin. Then, hot glue a puff ball onto a bobby pin. Do the same with two googly eyes.
Build the Base – Pull your child’s hair back into a ponytail and secure it with a hair elastic. Then, take the ponytail and wrap it around the base to create a bun. Secure the bun with bobby pins to keep it in place.
Optional: If you have a lot of length left over after creating your bun, braid the remaining hair and wrap it around the bun. Secure around the bun with bobby pins as needed.
Light the Way! – Once you’re happy with your bun, take each antler and slide the bobby into the bun on each side. Adjust the placement to your liking. Then, take each bobby pin eye, and place them into the bun. Finally, add the red puff in the center to light the way!
With a little creativity and a few festive accessories, you can turn an ordinary hairdo into a holiday masterpiece! These fun, kid-approved hairstyles will help your little one stand out and spread some holiday cheer. Whether you’re prepping for Christmas photos or just want to bring some extra joy to your family gatherings, these styles are sure to be a hit. These hairstyles are as flexible as they are fun, so let your creativity guide you and make them your own.


